How To Decoupage A Wooden Heart With Napkins Step By Step
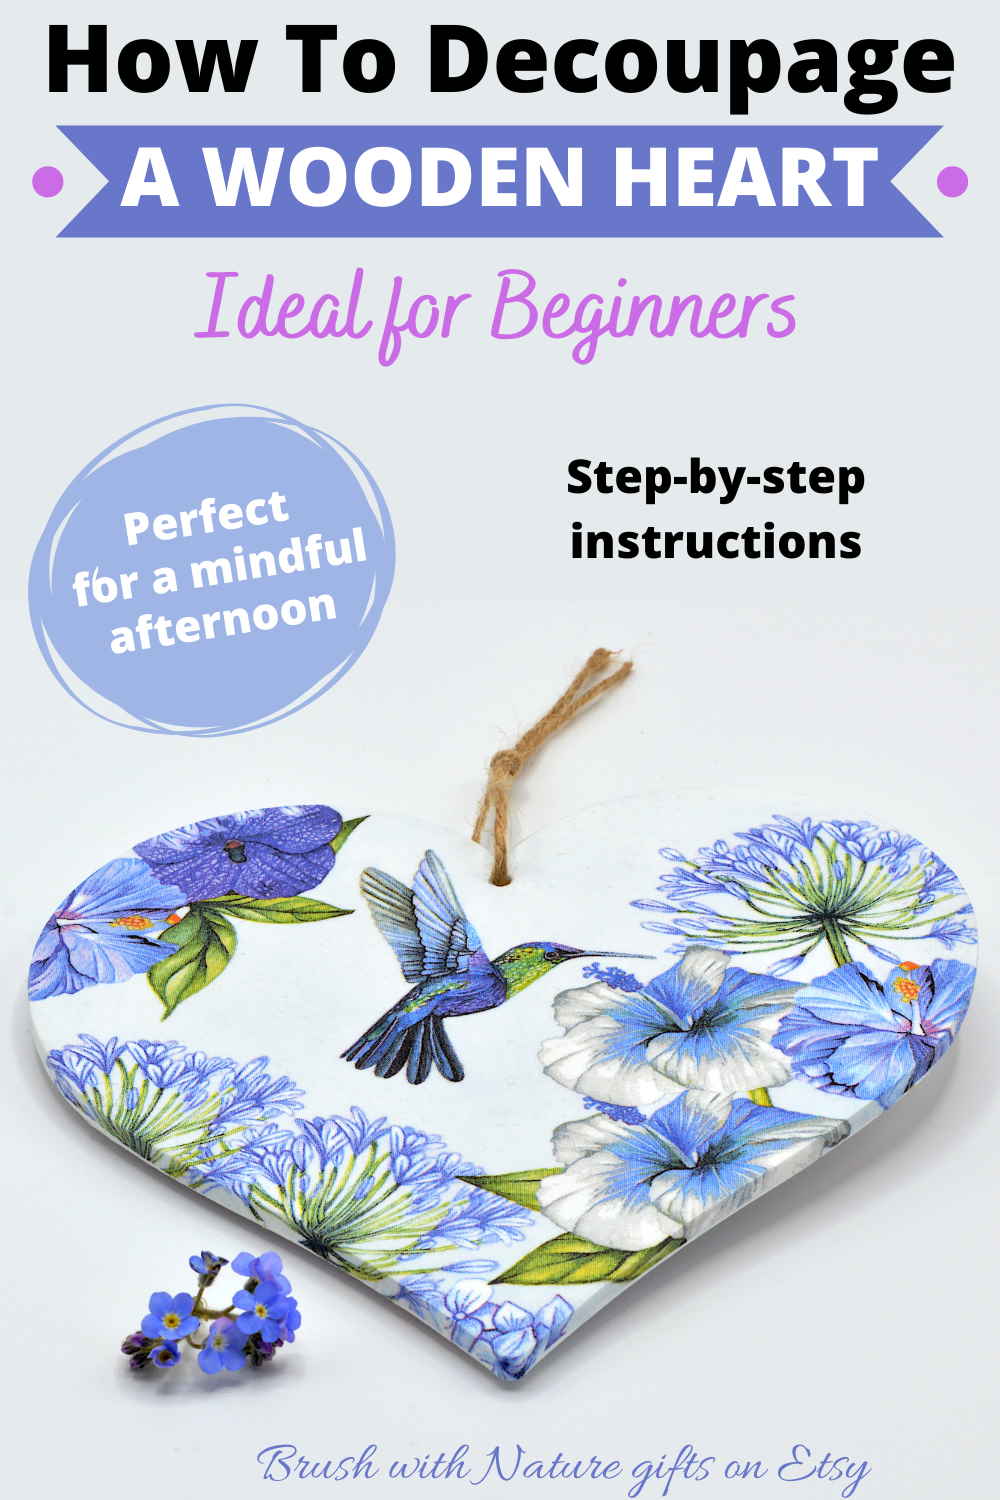
See how to decoupage a wooden heart with step by step instructions for the perfect mindful activity for a quiet afternoon. It will only take 2 hours to make something beautiful to keep for yourself or give as a gift.
"Wow! I absolutely love this! So well written and easy to follow along. Will definitely try this." ~ FB fan
Decoupage Step By Step Instructions
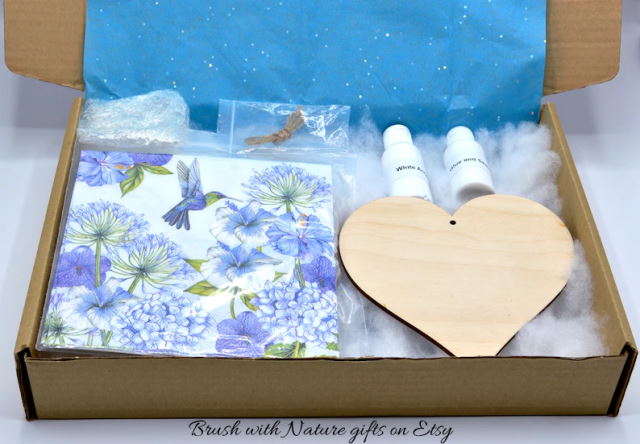
What you need:
- 1 x small Acrylic Paint Brush
- Pencil, Scissors and a small Sewing Needle (to make a hole in the napkin for hanging)
- 1 x Wooden Heart 15cm x 15cm
- White
Acrylic Paint
- Glue and Sealant (you can use PVA glue but I use Mod Podge (see link at bottom of page)
- Cling Film/Plastic wrap (to push down the bubbles on the napkin)
- Hanging
thread
- 1
x Decoupage Napkin
Once you have painted the heart white and allowed it to dry, this project will take approximately 2 hours – the ideal relaxing activity for a creative afternoon.
Decoupage For Beginners
How To Make A Decoupage Heart
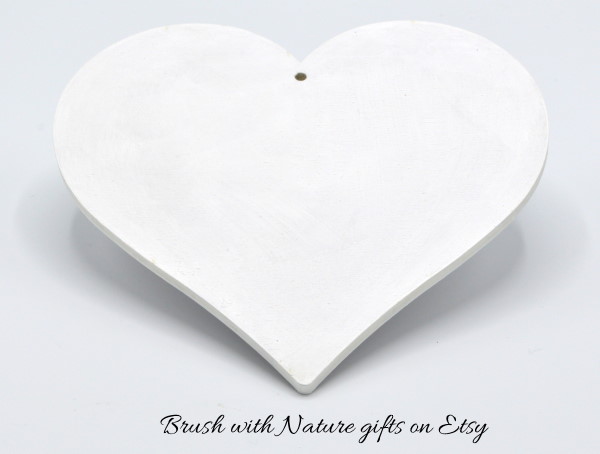
Paint the Heart
- Paint one side of the heart with white acrylic paint. This is so the napkin design will have a white background and you can see the design more clearly than if you simply stick the napkin directly on bare wood. Don’t worry if the heart has colour marks from the birchwood as this is natural and the paint will cover them. Paint the inside of the hole at the top and the sides of the heart.
- Allow to dry.
- Paint a second coat of acrylic white paint so the heart is fully white. Allow to dry.
(Optional. You can do the same with the back of the heart. I do both sides as I prefer the look of it, but many crafters leave the back plain.)
Design your Heart
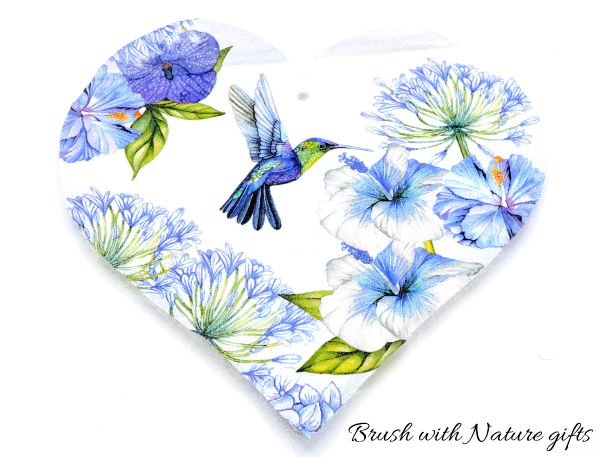
5. The napkin has four identical hummingbird designs. Place the napkin on top of the heart and position it so that one of the hummingbirds fits nicely on the heart shape (see photo). Make sure you are happy with the positioning as this is the picture you will see.
6. Remember there is a hanging hole in the heart so there will be a hole in your picture. You can see where the hole will appear so you need to place your napkin so the hole is where you want it.
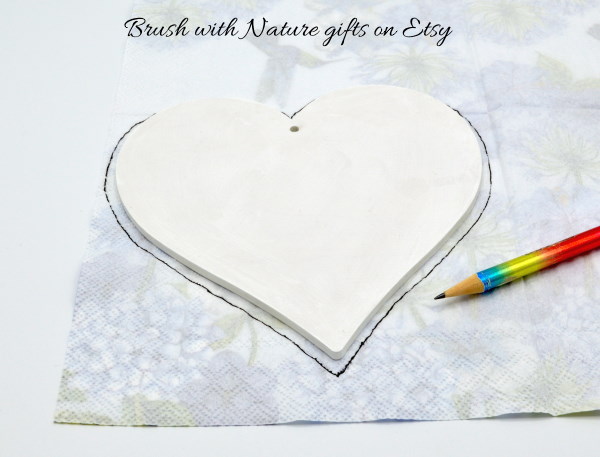
7. Carefully turn over the heart with the hummingbird design positioned on it. Draw round the heart on the back of the napkin in pencil. Do not draw exactly round the heart. Make your heart outline roughly 2mm larger than the actual heart all the way round so you can fold the napkin edges down the sides of the heart (see photo).
8. Cut out the heart shape you have drawn on the napkin.
Stick on your Design
9. The napkin is made up of three layers of paper. Carefully tease these apart so you are only left with the top layer.
10. Position this carefully on the heart.
11. Hold the design in place at one side with two fingers.
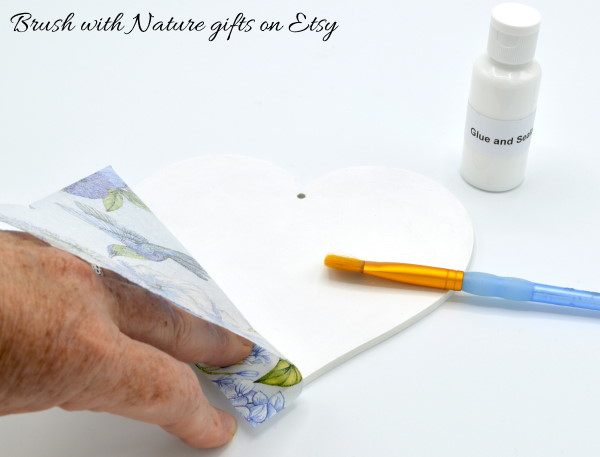
12. Keep the napkin in place at one edge, but reveal the surface of the wooden heart by moving the rest of the napkin out the way (see photo).
13. Apply a thin even coating of glue over the rest of the heart. Be careful not to get any glue on the napkin itself.
14. Carefully unfold the napkin and spread it out over the glued heart, gently pushing it with one finger as you go. Gently is the word. The napkin is very thin.
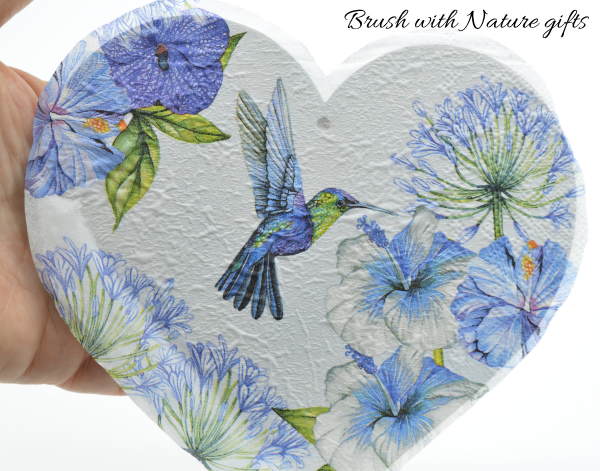
15. The hardest part of learning how to decoupage a wooden heart is bubbles appearing under the napkin (see photo). Don’t worry. Make the clingfilm/plastic wrap into a ball shape and gently push down all the bumps until you have an even surface.
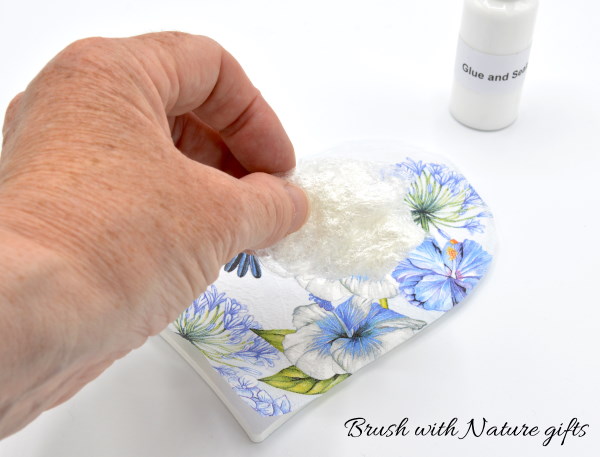
16. Now glue the last part of the heart. Use your brush to push glue under where the napkin is not stuck down (see photo). Make sure to glue right up to where the napkin is stuck down without leaving any gaps.
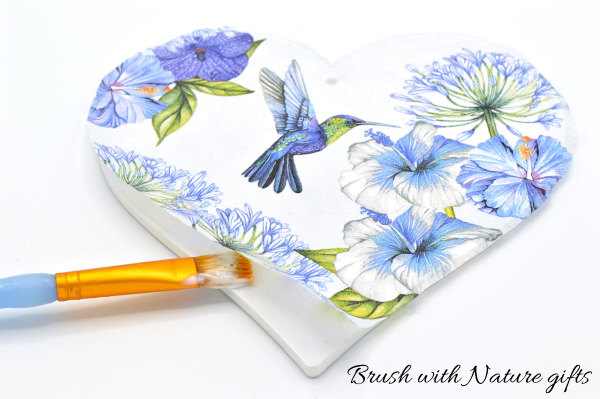
17. Smooth out the last part of the napkin on the glue and use the clingfilm/plastic wrap to push down any bubbles.
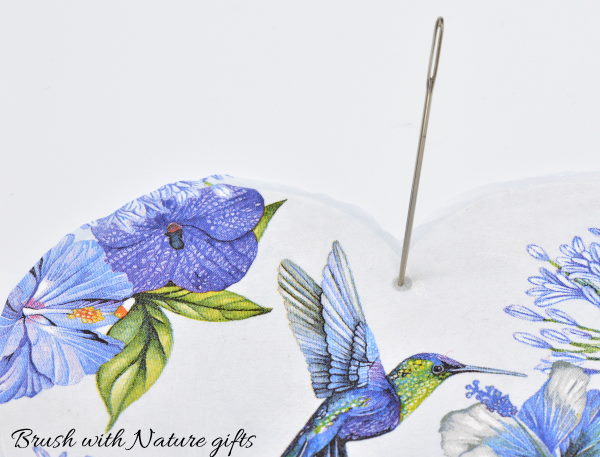
18. Take a pin or a small sewing needle and make a hole in the napkin where it covers the wooden hanging hole. Push the tissue down inside so the hanging hole is clear.
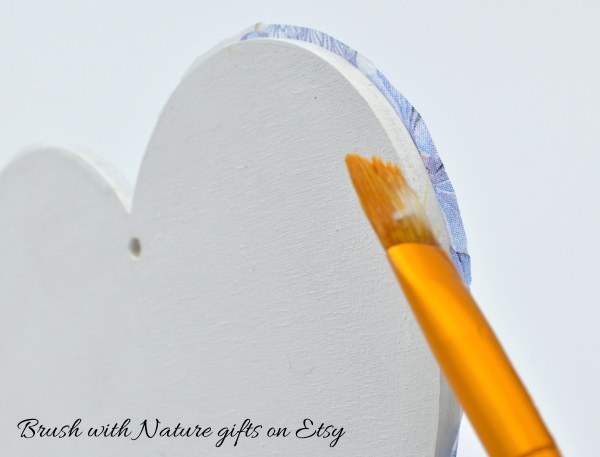
19. Glue round the edges of the heart and stick down the edges of the napkin.
Finish Off
20. Allow to dry overnight.
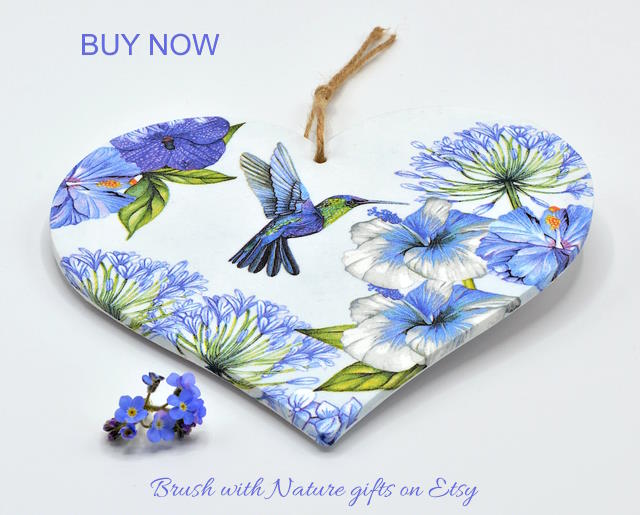
21. Paint a layer of glue over the hummingbird heart. It acts as a protective layer and sealant.
22. Dry overnight.
23. Attach your hanging thread and enjoy.
N.B. You may have to have more than one go at this to get the napkin smooth. Acrylic pain is washable so just wash off your first attempt and have a another go with a different part of the napkin. I like a shiny finish to my designs, so, before I add a hanging thread, I apply two layers of acrylic gloss varnish.
"I love this - my daughter is crafty so I’m sure she would like a go too!"
~ FB fan
Why Is Decoupage So Rewarding?
Having an easy but absorbing craft activity to do makes all the difference to how happy you feel! This tutorial is for adults, because I know how important it is to have something for you to do away from the kids.
The great thing about decoupage is that you don't have to be an artist to produce something beautiful. There are lots of pretty paper napkins you can choose that look lovely when you use them to decorate objects.
This tutorial is an easy way to learn how to make a decoupage wooden heart with napkins and once you learn the technique you can use it to decorate anything from furniture to candles.
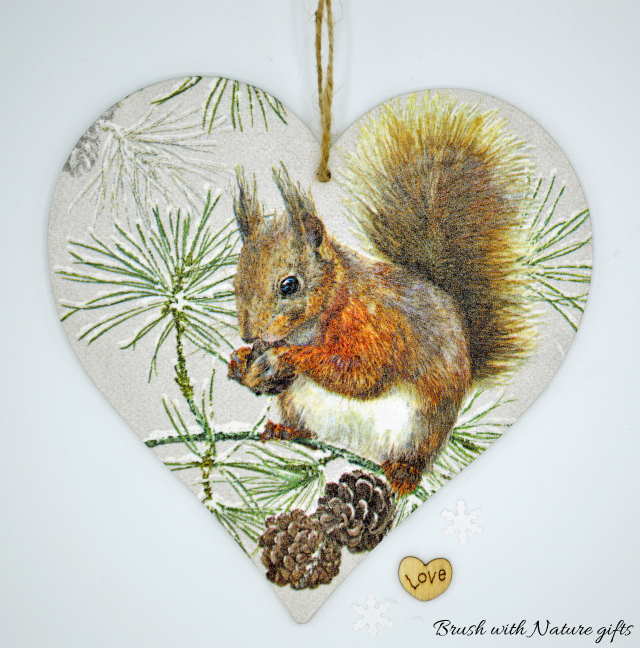
N.B. I have chosen a hummingbird napkin to illustrate this tutorial but you can use any napkin design, like this squirrel decoupage heart:
How To Decoupage With Napkins
Once you've learned how to decoupage a wooden heart, you can use all sorts of different napkin designs.
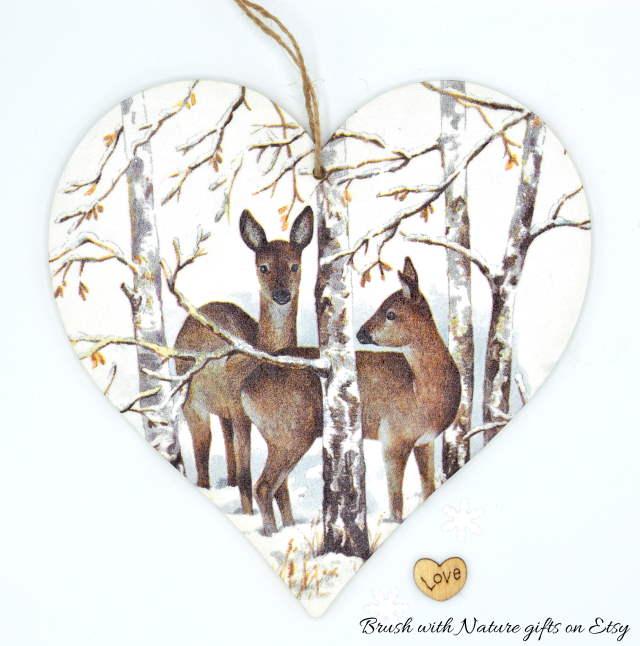
I love this decorative heart with deer in snowy woodland:
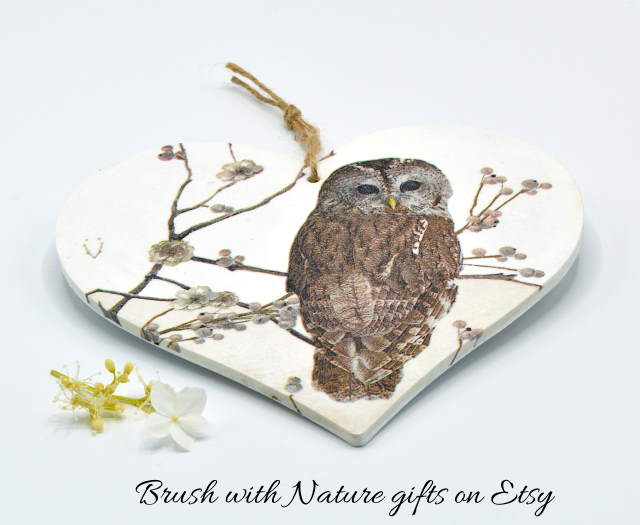
And here's an owl decorative wooden heart I made:
Make Your Own Napkins
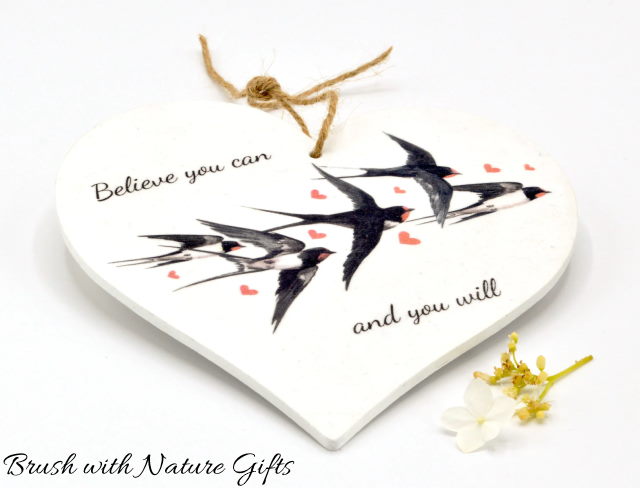
Or you can design your own napkins and use them, like I did with this Believe You Can and You Will heart:
Mod Podge Decoupage
I use Mod Podge as my glue and sealer, though you can also use PVA glue. The advantage of Mod Podge is that they make different types, including gloss, matt, dishwasher safe and even hard coat for using outdoors!
Once you have learned how to decoupage a wooden heart you can use the same technique on lots of different decoupage projects.
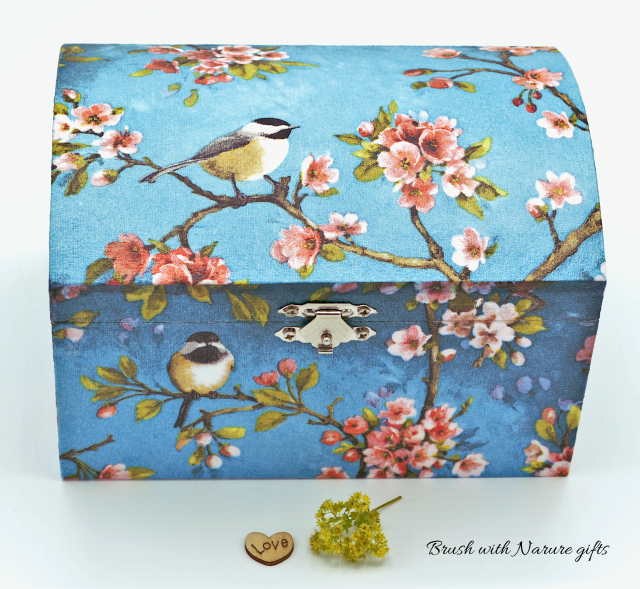
Here's a birds in cherry blossom trinket box using the same method:
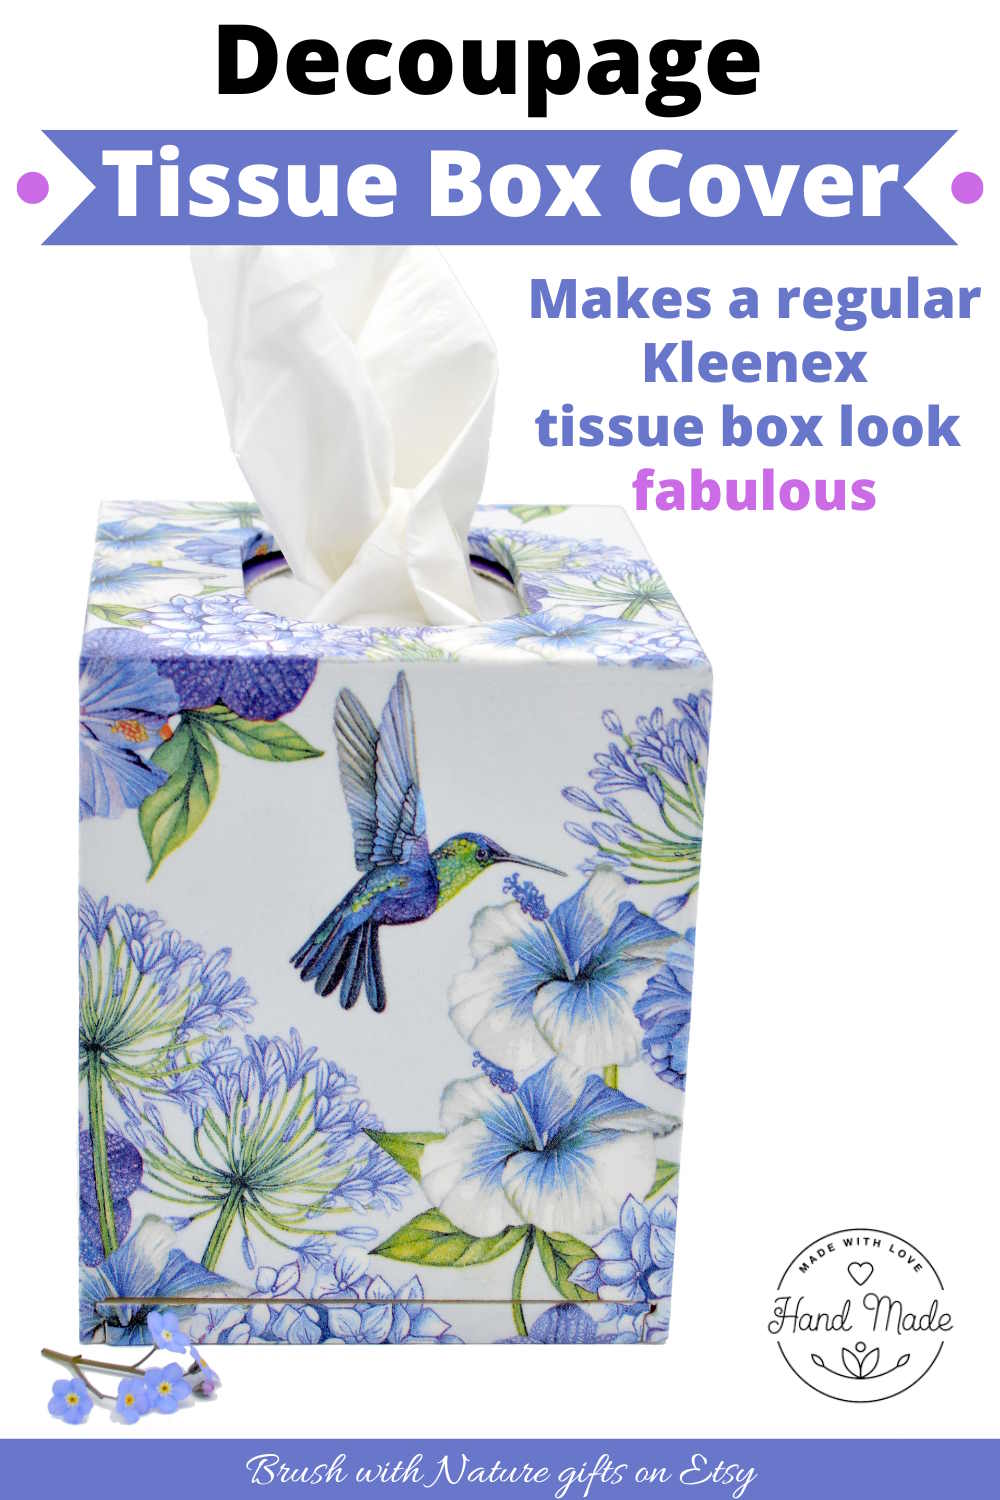
And here's a way to use that beautiful hummingbird napkin to make a Kleenex tissue box cover that disguises ordinary tissues so they make your home decor pop!
Want to remember this? Pin this page on How To Decoupage A Wooden Heart to your favorite Pinterest board!
- Homeschooling
- Beginners Decoupage
"Just had a look through your monthly
newsletter focusing on math. Thanks so much for all the links and
ideas. It's brilliant!" ~ Diana
"Hi....I totally love all your posts and enjoy reading them....the kids love the activities and enjoy them through and through." ~ Bianka

Free Newsletter
Must-have Handbook
4 books in one: Bargain discount deal!
"With the education system failing so many brilliant
children it's great to be able to have resources like your website for
inspiration, ideas and just a sense of belonging. What you are doing for
your children is priceless." ~ Natalija
"I really appreciate your time and effort that goes into your posts... It's nice to see that you are a 2nd generation homeschooler." ~ Teresa
"Your newsletters & book have helped us through our journey. For that I can only thank you.
Please, please, please keep it up, people like you make our home school life so much easier." ~ Kelly
"I have joined paid sites that were not even one percent as great as
this site. Really amazing what you are doing and so so helpful thanks so much!" ~ Eli
